
I was recently sent the i1 Filmmaker Kit and Colorchecker Video from X-Rite to review, and since the process is pretty simple I figured it’d be a good excuse to talk a bit about the color workflow and the importance of getting it right. For the record I already own the Colorchecker Classic.
When money is on the line it’s imperative that your image is accurate from start to finish. What you shot on set needs to be exactly what they see in post, and the output needs to be adjusted for the type of display it’s intended for. You need to have a known point of reference throughout your imaging pipeline to be absolutely sure the product you deliver is exactly as intended. Luckily, it’s not a difficult process.
When I first learned to shoot on film way back in 2008, it was drilled into me that we had to shoot a grey card at the head of every roll and with each scene/setup change. 18% Grey has a known reflectance point and the lab can use that reference point to adjust things when they develop the film to correct for mistakes in exposure and color. By holding a 18% grey reference card in the scene’s main lighting (very important), you show the lab a known point for which to make look “correct”. Without being given any notes, a lab will do their best to make sure the grey is correct in both exposure and color, theoretically making everything else in the scene look correct. For instance, if you shot outside on Tungsten stock but didn’t throw an 85 filter on your lens, the lab can see that the grey card is super blue and correct for that. Apparently that’s what Deakins tends to do.
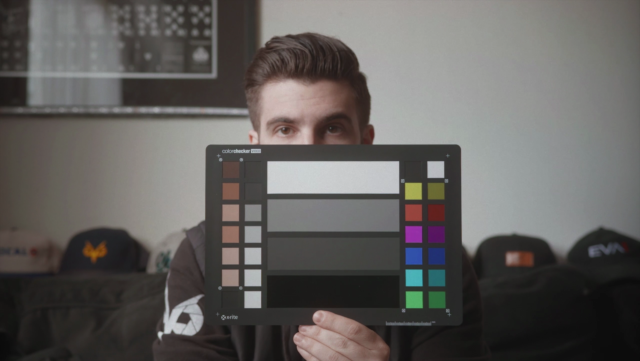
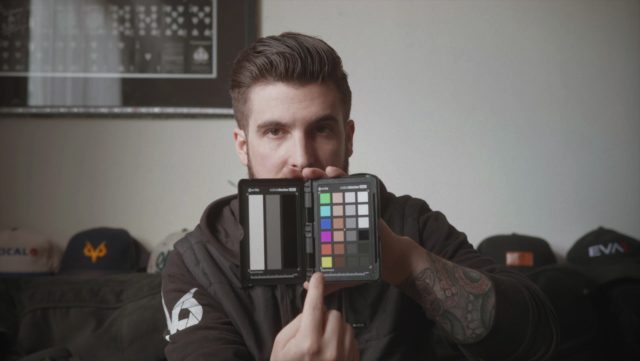
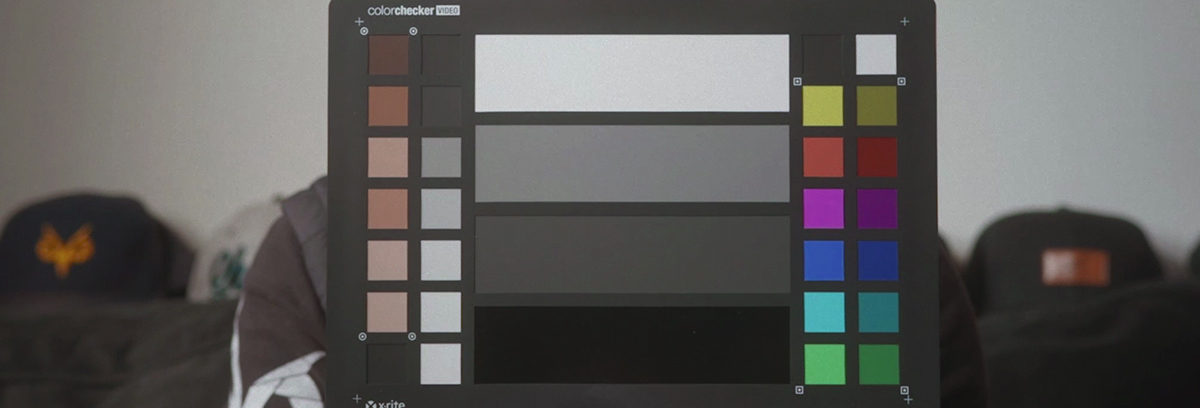
The Colorchecker Video is basically an advanced gray card, in that it gives you known reference points to utilize in the processing of your footage. On one side, a calibrated white card for you to white balance with on-set, and on the other side a series of columns showing the chromatic colors as you see on your vectorscope (six saturated, six desaturated), a set of skin-tone swatches, gray levels (white, 40IRE gray, deep gray and high gloss black), linear grayscale, and two sets of illumination check chips, black and white, at diagonal corners from each other to better assist in determining even illumination. DaVinci can use these types of charts to automatically correct footage, or you can do so yourself rather simply by adjusting your image so the chromatic targets line up with the targets on your vector scope. From there just make sure your white, grey, and black points are set to where they should be and you’re golden. The Colorchecker Passport Video is essentially the same thing, except in a smaller clamshell package and without the column of desaturated targets.
[The full article written by Kenny can be found and originally appeared at ProVideo Coalition]